How to Cook Perfect Basmati Rice Every Single Time
For years, my rice was a lottery. Some days it came out fluffy and separate, the grains long and elegant. Other days it was a sticky, gummy mass that welded itself to the bottom of the pot — and I never knew which version I’d get until I lifted the lid. The turning point came at a friend’s dinner party, when I watched her demonstrate how to cook basmati rice with a calm, almost boring routine: rinse, soak, measure, boil, cover, wait. No peeking. No stirring. No improvisation. Her rice was perfect, and mine had never been, because she had a method and I had hope.
That night I learned the truth about basmati: it’s not a temperamental grain, it’s a precise one. It rewards a simple routine and punishes improvisation. The absorption method below — where the rice drinks exactly the right amount of water, no draining needed — is that routine. Follow it and you’ll get long, separate, fragrant grains every single time. I haven’t had a bad pot since.
Quick Stats
- Total time: 45 minutes (25 minutes soaking + 20 minutes cooking and resting; only 5 minutes hands-on)
- Difficulty: Easy — it’s a routine, not a skill
- What you’ll learn: The absorption method, why rinsing and soaking matter, exact water ratio, the 10-minute rest
- Best for: Anyone whose rice is unpredictable
What You’ll Need
- Good basmati rice: Aged basmati (look for “aged” on the packet) has less moisture and cooks up longer and more aromatic. You don’t need the priciest brand, but avoid ancient dusty bags from the back of the cupboard — old rice cooks unevenly.
- A heavy-bottomed pot with a tight-fitting lid: Heavy bottoms distribute heat evenly and prevent the dreaded burnt layer. The lid must fit snugly — escaping steam is escaping moisture, and the recipe’s water ratio assumes it all stays in the pot.
- A fine-mesh sieve: For rinsing. Rice grains slip through colander holes; a sieve keeps them all while letting the cloudy starch water run off.
- A fork: For fluffing at the end. A spoon mashes grains; a fork’s tines separate them gently.
- Measuring cup: The water ratio is exact, so measure both rice and water. “Eyeballing it” is how gummy rice happens.
The Technique, Step by Step
Step 1: Rinse the rice until the water runs mostly clear. Put your rice in the sieve and rinse under cold running water, swishing gently with your hand, for a good minute. Here’s the why: basmati grains are coated in loose surface starch from milling. Leave it on and it turns into glue during cooking — that’s the gummy texture. Rinsing washes it away so grains stay separate. You’re not washing away flavor; you’re washing away stickiness.
Step 2: Soak for 20–30 minutes in cold water. Cover the rinsed rice with cold water and leave it alone for at least 20 minutes. The why is beautiful: dry basmati grains are brittle. If they hit boiling water dry, the outsides cook and swell while the insides are still hard, and the grains break or cook unevenly. Soaking lets every grain hydrate evenly first, so they cook through at the same rate — and hydrated grains elongate as they cook instead of just puffing up. This is the secret behind those dramatically long restaurant grains.
Step 3: Drain and measure your water — the ratio is 1:1.5. Drain the soaked rice well. For every 1 cup of rice, use 1½ cups of water. This exact ratio is the heart of the absorption method: it’s precisely the amount the rice will absorb, leaving no excess to drain and no shortage that leaves grains hard. Add the rice and measured water to your pot. (If you’re making a large batch — 3 cups or more — drop to 1¼ cups water per cup of rice, since less water evaporates proportionally in a fuller pot.)
Step 4: Bring to a boil, then immediately drop to the lowest simmer. Put the pot on high heat, uncovered, and bring it to a rolling boil — this takes just a couple of minutes since the rice is already hydrated. The moment it boils, stir once gently (just once, to release any grains stuck to the bottom), clamp the lid on tight, and turn the heat to the absolute lowest setting your burner allows.
Step 5: Cook undisturbed for 12 minutes — and do not lift the lid. Set a timer for 12 minutes and walk away. Do not peek, do not stir, do not “check on it.” Here’s the why: the rice is now cooking in trapped steam, and every time you lift the lid you release that steam and drop the temperature, which throws off the timing and leaves the top layer undercooked. Trust the process. The pot knows what it’s doing.
Step 6: Rest with the lid on for 10 minutes off the heat. Turn off the burner and leave the pot completely alone — lid still on — for 10 full minutes. This is the step most people skip, and it’s the difference between good rice and great rice. The why: when the heat stops, the grains are cooked but unevenly moist — wetter at the bottom, drier at the top. During the rest, residual steam redistributes through the pot, finishing the grains gently and evenly. Skip the rest and you’ll get rice that’s fine on the edges and slightly hard or wet in patches.
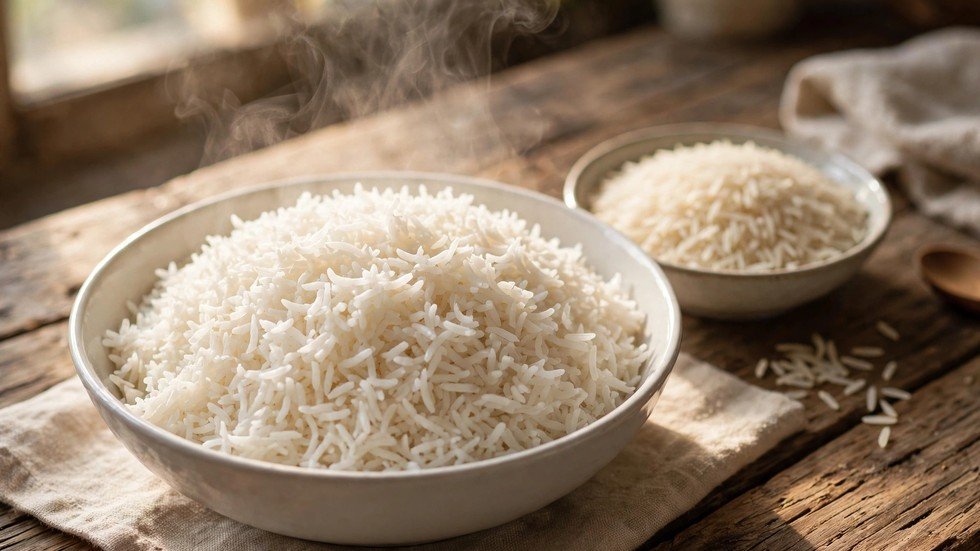
Step 7: Fluff with a fork and serve. Remove the lid — enjoy that first fragrant puff of steam — and gently fluff the rice with a fork, lifting and separating the grains with a light hand. Never stir with a spoon, which mashes the delicate long grains. You’ll see what perfect basmati looks like: every grain separate, long, and slightly glossy.
Pro Kitchen Tips for How to Cook Basmati Rice
- Salt the water. Add ½ teaspoon of salt per cup of rice to the cooking water. Rice cooked in unsalted water tastes flat no matter what you serve it with — seasoning from within is the only way to season every grain.
- A teaspoon of oil or butter in the water adds insurance. Fat coats the grains lightly and adds another layer of protection against sticking, plus a subtle richness. This is especially helpful if your pot runs hot.
- Toast the drained rice for extra aroma. After soaking and draining, sauté the rice in a little butter or oil for 2 minutes before adding water. The grains turn pearly and develop a nutty depth — this is the base of a great pilaf.
- Scale the rest, not just the cooking. For big batches, extend the resting time to 12–15 minutes. A deeper pot of rice needs longer for the steam to equalize. The cooking time stays the same; only the rest grows.
- Leftover rice? Cool it fast. Spread leftover rice on a tray to cool quickly, then refrigerate within an hour. Cooled rice also makes the best fried rice the next day — the chilled, slightly dried grains fry up separate and crispy instead of clumping.
Troubleshooting Advice
- Mushy, gummy rice. Cause: too much water, skipped the rinse, or skipped the soak. Fix for next time: measure the water exactly (1:1.5), rinse until the water runs clear, and soak the full 20 minutes. For the current pot: spread it on a baking sheet and bake at 300°F for 10 minutes to dry it out — it won’t be perfect, but it’s rescuable, and it makes fine fried rice.
- Undercooked, crunchy grains. Cause: lid lifted during cooking, heat too low to maintain steam, or not enough water. Fix: sprinkle 2–3 tablespoons of hot water over the rice, clamp the lid back on, and cook on low for 5 more minutes, then rest again. Next time, keep that lid shut.
- Burnt layer on the bottom. Cause: heat too high during the simmer phase, or a thin-bottomed pot with hot spots. Fix: don’t scrape the burnt layer into the good rice — spoon the fluffy rice off the top and leave the stuck layer behind. Next time, use the lowest possible heat and a heavy pot; a heat diffuser helps on fierce gas burners.
- Rice sticks to the pot. Cause: usually a too-thin pot or skipping the fat. Fix: soak the pot in hot water to loosen, and next time add that teaspoon of oil to the water and make sure you’re using a heavy-bottomed pot. A well-used pot also develops a slight seasoning over time that helps.
- Bland rice. Cause: no salt in the cooking water. Fix: there’s no real fix after cooking — salt on top never penetrates. Remember the ½ teaspoon per cup next time. It’s the cheapest, highest-impact improvement you can make.
FAQs
Do I really need to soak the rice? Can’t I skip it?
You can, but you’ll taste the difference. Unsoaked basmati cooks less evenly and the grains don’t elongate as dramatically — you get shorter, slightly broken grains instead of those long elegant ones. Twenty minutes of soaking is passive time; set it going before you start prepping the rest of dinner.
Can I cook basmati in a rice cooker?
Yes, with one adjustment: rice cookers lose less water to evaporation than the stovetop method, so reduce the water slightly — about 1¼ cups water per cup of soaked rice. Rinse and soak exactly the same way, then let the cooker do its thing. Still rest 10 minutes before fluffing.
Why is my basmati sticky when restaurant basmati never is?
Almost always one of three things: you didn’t rinse off the surface starch, your water ratio was too generous, or you stirred during cooking. Restaurants rinse thoroughly, measure precisely, and never touch the pot once the lid is on. Do those three things and yours will match theirs.
That’s the whole routine for how to cook basmati rice: rinse, soak, measure, boil, cover, wait, rest, fluff. Eight steps, five minutes of actual work, and a pot of rice you’ll be proud to put on the table. Once this becomes habit, you’ll wonder why it ever felt like a gamble — and your curries, stir-fries, and weeknight dinners will finally have the foundation they deserve.
You might also like: 15-Minute Chicken Fried Rice That Beats Takeout